As an Amazon Associate, we earn from qualifying purchases. We may also earn commissions if you purchase products from other retailers after clicking on a link from our site.
If ice scraper marks end up on your windshield, they’re usually easy to remove. If they end up on your car paint, that’s a different story. So if you accidentally scratched your car’s paint, what are the best and safest ways to remove ice scraper marks?
Here’s how to remove ice scraper marks from your car paint:
- Determine what type of scratch it is.
- Use the right kind of scratch removal tool.
- Take care when removing snow from your car next time.
The bad news is, snow removal doesn’t come with a user’s manual. The good news is, no matter how you damage the paint, you can read on to know how to make unsightly ice scraper marks disappear from your car paint.
1. Determine What Type of Scratch It Is
There are several ways to remove ice scraper marks, depending on the depth of the scratch. Before diving deeper into removing the aforementioned marks, it’s important to know more about car paint. Cars have 3 layers of paint: primer, base coat, and a clear coat.
- Primer. This one is directly applied to the car’s body.
- Base Coat. This one typically consists of two layers of thin coats of paint, and is applied on top of the primer.
- Clear Coat. This one has three to four layers, and is the topmost layer.
If the scratch is only on the clear coat, you can repair it without much trouble. Otherwise, you may need to do a new paint job. There are two tests to determine if the scratch has gone past the clear coat.
- Spray water on top of the scratch. If you still see the scratch, there’s a decent chance it’s gone beyond the clear coat.
- Run your finger over the scratch. If your fingernail doesn’t get caught in the scratch, you should be able to repair and hide it.
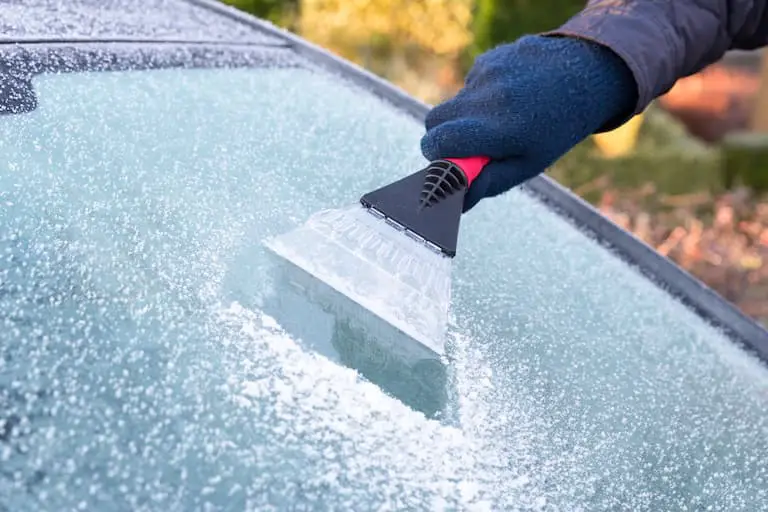
If your car has ice scraper marks, they tend to appear when light strikes the sides of the groove in the clear coat. The reflection of light makes the scratches visible.
In some cases, the reflection will look white, especially on dark-colored cars. Therefore, the goal is not to eliminate scratches altogether but to smooth them out so they don’t reflect light.
2. Use the Right Kind of Scratch Removal Tool
A small scratch doesn’t go deep enough to reach the paint. On the other hand, larger scratches damage the paint, primer, or bare metal. The deeper the scratch, the more difficult it is to fix.
In addition, because each scratch is unique, a scratch repair can take a long time. For example, a repair job can be complicated by things like shallow spots on the ends and deep spots in the center.
Luckily, you can smooth out most scratches. You may even want to use things like WD-40s and Colgate (yes, I’m serious). Let’s talk about these in more detail below.
Small Clear Coat Scratches
You can usually eliminate small clear coat scratches with polishing compounds. Of course, these compounds will differ when it comes to their ingredients and the best way to use them. However, their directions for use will generally run along the following lines:
- Wash the vehicle and dry it.
- Using a microfiber towel, apply the scratch remover. Follow the product’s directions for how much to cover and what kind of tool to use.
- Rub the area with strong pressure for the length of time prescribed by the product’s directions.
- Wait for it to dry to a haze.
- Using a microfiber towel, wipe away the dried product.
- Repeat until the damaged area has been polished clear.
Although many products are available for removing car scratches, I recommend the 3M Scratch & Scuff Remover System (available on Amazon.com). The kit contains everything you need to remove light scratches, including a disc pad holder, two pads, and separate compounds for rubbing and scratch remover.
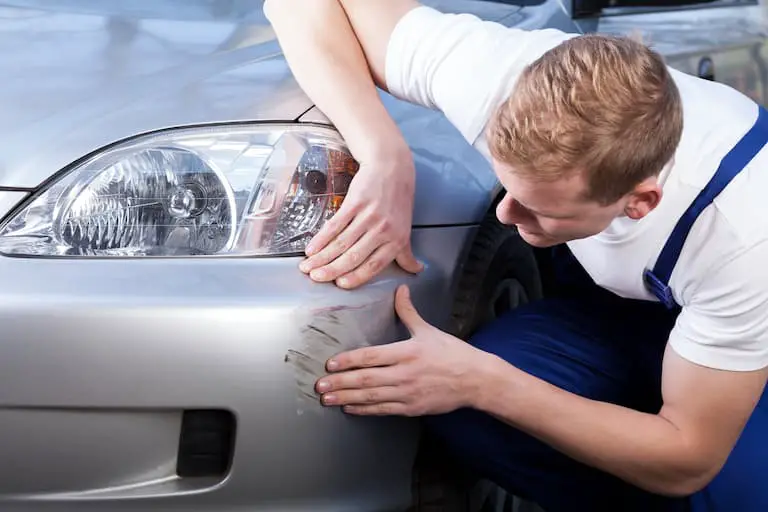
Deeper Scratches
Some scratches will penetrate through the clear coat and into the paint. Removing these will require more work, and there’s no guarantee you’ll be happy with the final product. You can always take your car to a professional to take care of the scratches, or fix it yourself using the steps below.
- Wash and dry your car.
- Sand the damaged area with fine-grit (1000 to 2000) sandpaper until you reach the metal. Sand along the scratch. This step can be nerve-wracking, but trust me when I say that it’ll help you buff out those deep scratches!
- Tape off the sanded area, then use a paint touch-up kit. Make sure you use the hue that’s as close to your car’s paint as possible using the paint code located inside the driver’s door. You can also check with an expert car dealer if you’re not sure.
- After the paint has dried, use a polishing product to buff the repaired area until it closely matches the color of your vehicle.
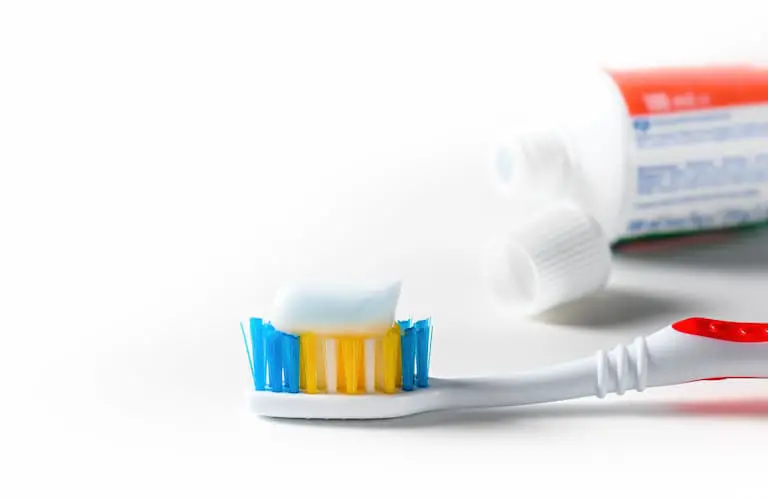
WD-40 and Colgate Toothpaste Hacks
WD-40 and Colgate are often mentioned as alternatives to more expensive treatments. WD-40 is a versatile oil-based removal product, while Colgate toothpaste theoretically acts as a polishing compound. I will give a couple of caveats regarding the two, though:
- They only treat minor scratches.
- The coverage of the scratch is temporary, meaning you may have to reapply the WD-40 or Colgate again.
The WD-40 is easy enough to apply — spray it on, wait a few minutes, and wipe down. It’ll look good immediately because the WD-40 soaks into the scratch and eliminates the reflection. However, the WD-40 will dry out over time, and the mark will reappear.
Colgate, on the other hand, lasts longer than WD-40. Once it dries out, apply it again. Some drivers prefer this compound because it’s less expensive. But you will need to reapply it frequently, so this polishing compound might not be worth it in the long run.
3. Take Care When Removing Snow From Your Car Next Time
If you don’t want to go through the trouble of having ice scraper marks on your car, you should take care when using it on your car paint next time you’re cleaning your vehicle. Here’s how to prevent ice scraper marks from appearing on your car paint.
- Look for chunks of snow you can lift off. A thin layer of ice on the hood or trunk can be broken with an open-handed smack of your hand.
- Brush or lift off the ice that cracks. Don’t hit it with the handle of your ice scraper.
- Push loosened snow you can’t reach using a snow broom. Before you do this, wrap several microfiber towels around your snow broom. Dig a few inches into the snow, then lift or push it away from the car, taking care not to scratch the paintwork.
- Use a non-abrasive snow broom. For example, the Snow Joe SJBLZD-JMB-SJB 2-In-1 Telescoping Jumbo Snow Broom (available on Amazon) comes with a 19-inch (48.26 cm) foam head to ensure you don’t damage your car’s paint. The adjustable, auto-locking pole reaches up to 52 inches (132.08 cm), making it easier to reach the hard-to-reach parts.
- Start from the roof and work your way down. This way, you can save yourself time and ensure you don’t miss any vital spots.
Bottom Line
Removing ice scraper marks from your car isn’t much different from eliminating other marks. First, determine what type of scratch it is. Next, buy a product that works with that kind of mark. Damage to the clear coat can be ignored, but damage to the primer should be taken care of. Otherwise, rust will become an issue later. Finally, take care to avoid ice scraper marks on your car in the future.