As an Amazon Associate, we earn from qualifying purchases. We may also earn commissions if you purchase products from other retailers after clicking on a link from our site.
Roof vents are essential in facilitating air circulation on your roof and extending its life. However, if the vents are leaking, there’ll be structural damage to the roof and house. So, how do you fix roof vent leaks that occur during heavy rain?
Here’s how to fix roof vent leaks during heavy rain in 6 easy ways:
- Identify the cause of leakage.
- Catch the incoming water.
- Create a barrier around your roof vent.
- Replace worn-out vents and vent components.
- Apply a roof sealant.
- Prevent future leaks.
Although most roof vent styles prevent water from entering your roof, a heavy downpour can force them to leak. This article will explore several ways of fixing roof vent leaks. Read on to learn more.

1. Identify the Cause of the Leakage
It’s difficult to fix a leaking roof vent if you don’t know what is causing the problem. Therefore, the first step to fixing your leaky roof vent is to identify the root cause. Your roof vent could be leaking due to various reasons, including:
- Gaps or cracks on the vent pipe – If the vent pipe or its collar is cracked, rainwater will seep in and start dripping into your attic or ceiling.
- Improper installation – Roof vents are part of the HVAC system and require professional installation. If the person who installed your vents didn’t seal the edges properly, there could be spaces between the vent and the roof. Therefore, leaking will be inevitable, especially during heavy rain.
- Damaged or worn out vents – A damaged or worn out vent will not prevent water intrusion into your home. For instance, metal and plastic roof vents are prone to damage if exposed to the sun for a long time.
- A cracked roof vent boot – Vent boots help waterproof the vent pipes. However, your roof vent boots can loosen or crack due to improper installation or damage by harsh weather elements. Consequently, there will be spaces around the vent pipe, allowing water to leak during a heavy downpour.
2. Catch the Incoming Water
After noticing leakage from your roof vent, it’s crucial to prevent further damage. Sometimes, you may not see any dripping water, but other signs can warn you of a leaking roof vent. These include:
- Excessive condensation on your ceiling or walls due to too much moisture
- Molds on your roof due to the presence of water
- A sagging roof or ceiling due to excessive flooding
Now, if water starts dripping from your ceiling, you need to collect it before it soaks your furniture and other valuables. Get some buckets or other containers to hold the water. Then, place absorbent materials such as towels or blankets around the leaking part to catch the water.
You can also apply a quick sealant layer like tarp or caulk. However, this is a temporary fix, and it will not hold for long. Hence, you need to fix the root cause of the roof vent.

3. Create a Barrier around Your Roof Vent
If your roof vent had any exposed spaces due to improper installation, you could close them by forming a barrier around the vent. Find a suitable material such as a metal screen wire to cover the vent hood. This will prevent rainwater from getting in through the vent.
You can also use wood to create a barrier over your roof vent. Place the piece of wood on the vent and screw it on the area around the vent to fix it in place.
4. Replace Worn-out Vents and Vent Components
If your roof vent components, including the pipes, boots, and flashings, are broken or worn out, the best option is to replace them. Roof boots are more likely to wear out, especially low-quality ones. Moreover, vent pipes may also crack or bend due to unfavorable weather elements.
When replacing the roof vent boot, applying a roof sealant (such as caulk) to close any gaps is advisable. At this stage, you may choose not to remove the old pipe boot if it isn’t completely damaged. Therefore, you can overlay a new boot over the old one and seal it using caulk.
Also, when replacing the vent pipe, apply a pipe sealant to fix the new one in place and prevent any future leaks. However, make sure that you first remove the original sealant before applying the new one. It’s also advisable to seek the services of a certified contractor when repairing your leaking roof vent(s).
Hail, broken branches, or other debris could damage your roof flashings and shingles. Therefore, if you notice chipped paint or dents on your roof vent, it’s time to replace the shingles and flashings. Remove the debris and apply roof sealant to seal any gaps or holes caused by the damage.
5. Apply a Roof Sealant
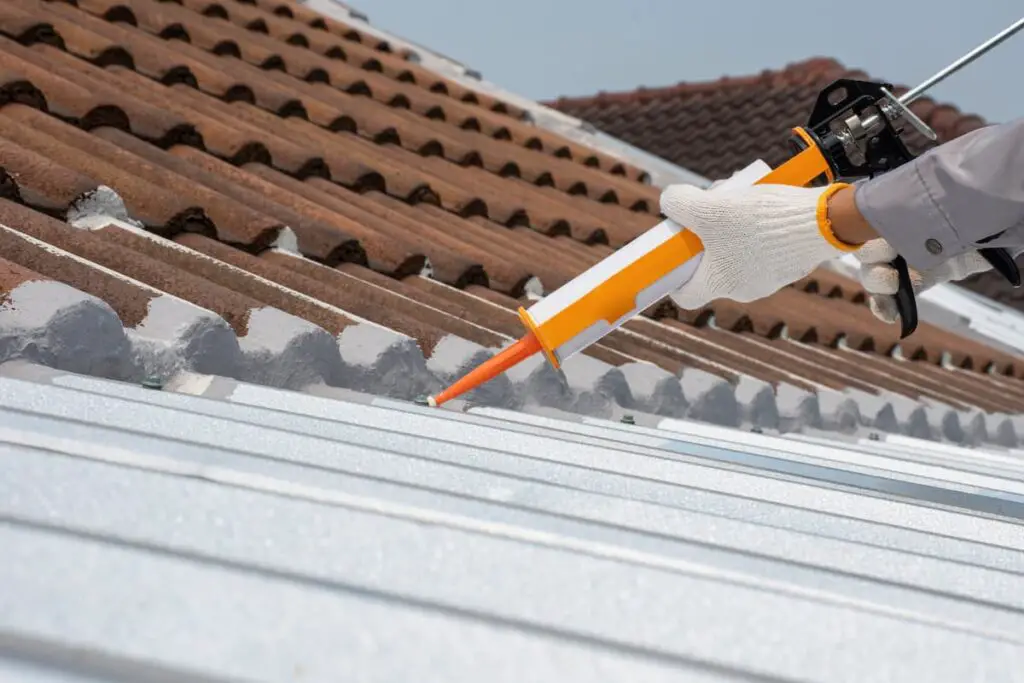
If your roof vent hood, pipe, or boots are all in good shape, you don’t have to replace them. However, if they are loose, you can apply a flexible roof sealant to fix a roof vent leak. A good sealant from a tube can effectively seal any gaps or holes caused by a loose vent pipe or boot.

For instance, the Dicor Self-leveling Lap Sealant (from Amazon.com) is an ideal option. The sealant comes in an easy-to-apply tube and adheres to various materials, including wood, vinyl, aluminum, fiberglass, and galvanized metal. Therefore, it forms a secure seal around your vent and vent pipes, preventing any future leakage.
6. Prevent Future Leaks
Temporary fixes come in handy, especially when it is raining hard and you can’t do much. However, prevention is always better than cure. Therefore, permanent fixes and preventing future leaks should be your priority.
You can prevent future leaks on your roof vent by:
- Installing high-quality vent components, including boots and pipes
- Having a professional contractor install your roof and vents
- Ensuring that you have regular roof maintenance – always seek professional advice
Parting Shot
Although roof vents prevent water intrusion into your home, some factors can cause them to leak during heavy rain. Therefore, if you notice any leakage signs, find out what is causing the leak and prevent water from damaging your valuables. You can then determine the best method to fix the problem or consult a professional to help in the repair.
